

Showing posts with label Making Memories. Show all posts
Showing posts with label Making Memories. Show all posts
Thursday, November 8, 2012
Day 313: Faith Book: Presentation Page and Baptism Page
I started working on a (sample) Baptism page for my church's Faith Book today. I used a solid blue paper from my stash as the background page. I used two embossed frames from Making Memories, made some title banners from scrap paper, and used two title blocks from Making Memories as accents for the photos. Sticker letters by Marjolein Bastien. Crosses and starbursts from Jolee's Boutique complete the page.

Monday, August 6, 2012
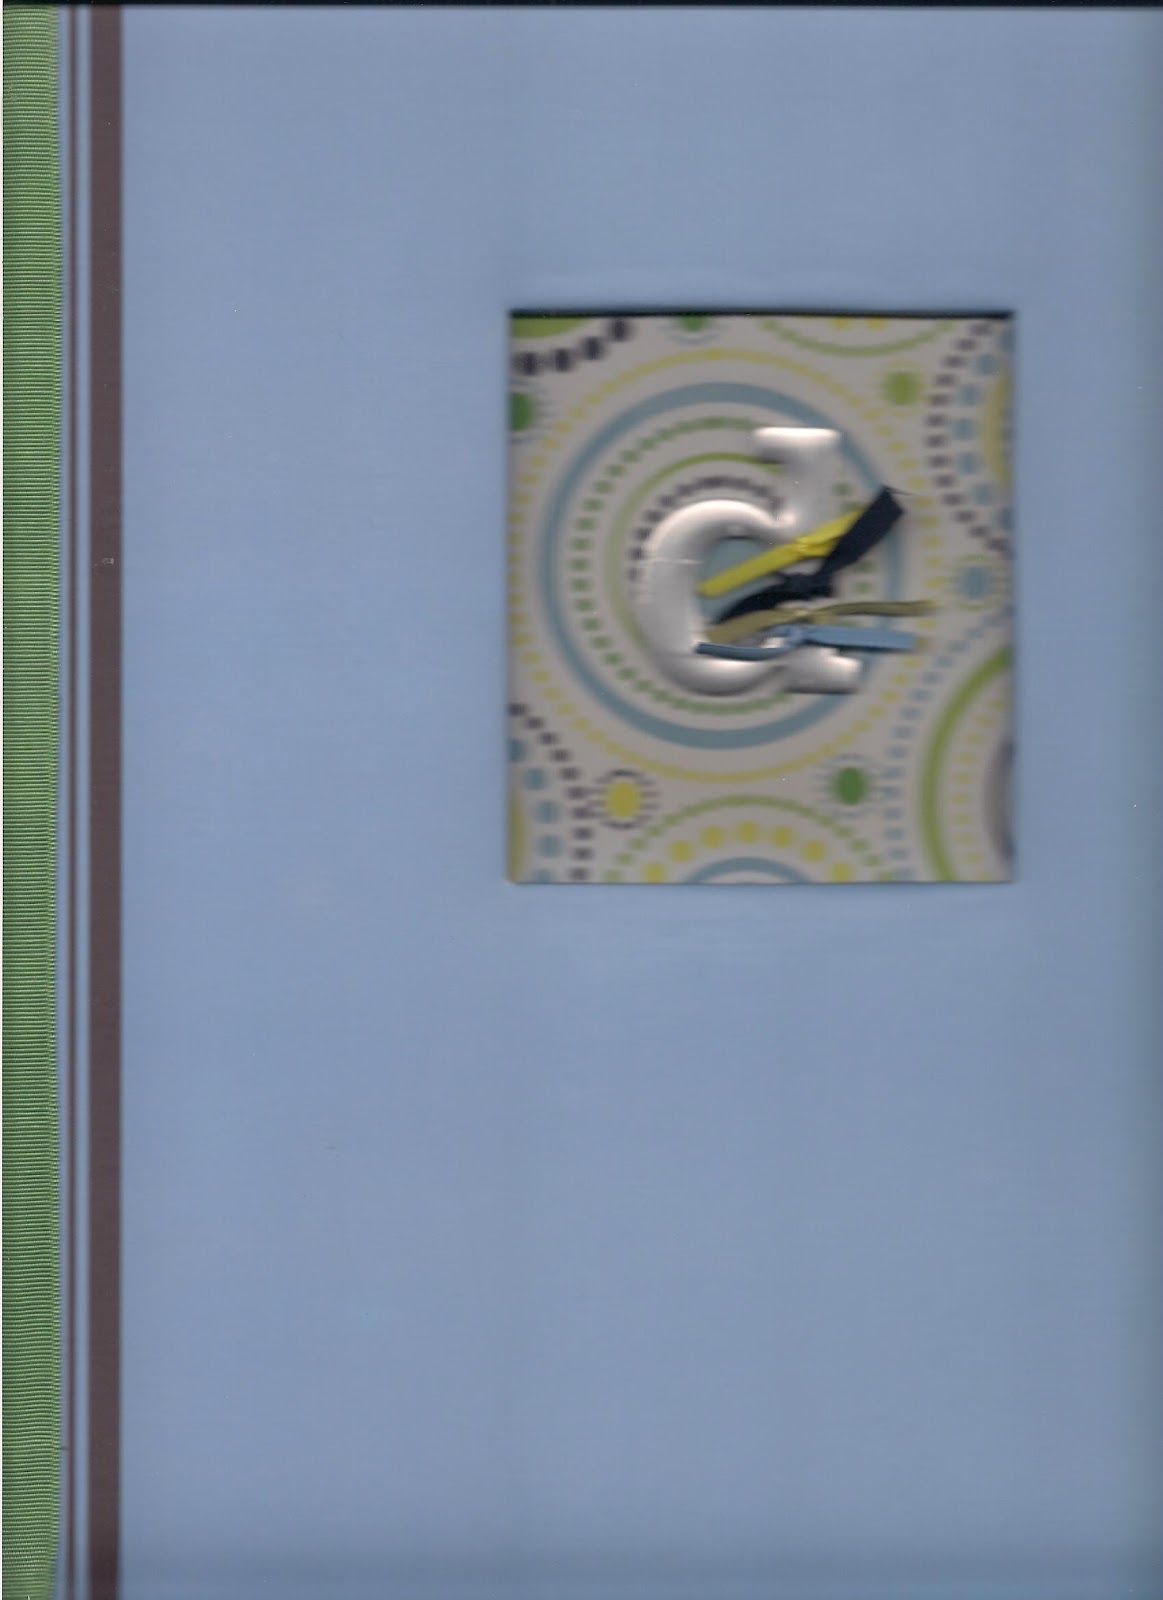
Day 218: Monogrammed Scrapbook Album Cover
A lot of the scrapbook albums now have a window on the album cover for a photo. I don't usually put photos in them. I usually use some stickers to spell out the kids' names, or if it is a smaller window, just their initial. Then I know it is their album.
Tonight I worked on one for one of my son's albums. I had a neat paper with circles (by Imagination Project) in just the shade of cornflower blue that matched his album that I used as a background. Since the paper clashed with the stripes on the album cover, I used some double-stick tape to cover the stripes with a green ribbon. I tied ribbons around a metal "d" by Making Memories, and placed it on top of the circle-patterned paper. Voila, a monogrammed scrapbook album cover.

Tonight I worked on one for one of my son's albums. I had a neat paper with circles (by Imagination Project) in just the shade of cornflower blue that matched his album that I used as a background. Since the paper clashed with the stripes on the album cover, I used some double-stick tape to cover the stripes with a green ribbon. I tied ribbons around a metal "d" by Making Memories, and placed it on top of the circle-patterned paper. Voila, a monogrammed scrapbook album cover.
Sunday, August 5, 2012
Day 217: Happy Birthday with Yoda: A Happy Birthday You Must Have
My son wanted to have his photo taken with his Yoda toy for his birthday. I wanted to use Star Wars paper, but all I had was red or blue, and I really needed green because my son was wearing a green shirt, and Yoda is green. So, I just used some Simply Asparagus paper by My Mind's Eye as the background.
The quote I chose for this page is written the way Yoda speaks: "8 you are...A Happy Birthday You Must Have". I used a variety of letter fonts to make this quote, although I did try to stick to the same font for each word so it would be a little more uniform in style. This was inspired by Trudy Sigurdson's book, Embellished Emotions for Scrapbookers: Adding Your Personal Touch to Poems, Quotes, and Sayings.
I used my Copic Green Garden marker to color the number "8" (Paperbilities), the "Happy Birthday" plaque (Making Memories), and the chipboard letters in "Have" (unknown). The green "you" stickers are by Heidi Grace. All other letters and numbers were in my stash, manufacturers unknown. I added the Yoda sticker at the bottom of the quote, just like you might see a famous person's name after a quote. I punched a hexagon shape from green paper with my Creative Memories punch and used it to back the hexagon-shaped Star Wars sticker and placed that above the photo. I made a banner from chipboard pennant pieces by Jenni Bowlin. I colored the pennant shapes with my Copic marker and attached them to some sparkly green ribbon in my stash. I added three number 8s from my stash onto the pennants, and hung the banner in the upper left corner of the photo. Star Wars and Yoda stickers by Creative Imaginations. Journaling pen by Creative Memories.

Saturday, August 4, 2012
Day 216: Happy Birthday: Polka Dots
We had this collage made of my son when his photos were taken at Sears Portrait Studios. I love how the photographer created the saying with the different colored circles. I decided to use two different color polka dot backgrounds from Stampin' Up! to play off the circles. (The brown polka dot frame is part of the collage!) I also used some cute dot ribbon from DCWV across the bottom of the page. I punched circles to back three birthday plaques from Making Memories and put those on top of the ribbon. I also punched out some photo corners from the SU dot paper. Punches are Paper Shapers by EK Success.


Friday, July 20, 2012
Day 201: "Wild" Scrapbook Page
My son and I attended a Mother-Son Dance at his grade school. The theme was all wild animals, so I chose to use several animal print and textured papers to create this scrapbook page. I matted the photo on a golden yellow mat (Making Memories), then on a leather look mat (Marcella by K), and then on a black mat (Stampin' Up!). I cut four different prints into 6" x 6" squares and then attached them to a 12" x 12" piece of card stock [which is a good use for a paper you are not so keen on!]. The two papers on the left side of the page are from the "Safari Kids" collection from DCWV. The flocked leopard paper is by Anna Griffin, and the brown zebra print is by Moxxie. Once I had all my different animal prints in place, I added my matted photo to the center of the page. I felt like the upper left print and lower right print were not as strong visually, so I used my "wild about you" stamp from Stampin" Up! to add even more texture to the prints. I spelled out my title "wild" using giraffe stickers from Momenta on the same brown leather paper I used as a photo mat. I layered that on top of more black card stock and trimmed the edges with my scalloped scissors from Provo Craft. Since the giraffe print letters were a little pale, I used a yellow Stampin' Write marker to add some yellow to mimic the layers of the photo mats. I punched a scalloped circle from black card stock to use as a background behind a re-purposed lion pencil topper. Finally, I added black photo corners in each corner of the page to pull it all together.


Friday, July 6, 2012
Day 187: A Boy Is A Joy
For this page of my son, I used this brown football paper from Echo Park Paper as a background to coordinate with the sepia tones of the photo. The red wood paper I used as a mat for the photo and for the tag is from My Mind's Eye. I made some photo corners from a fabric tag by Making Memories and put the photo corners under the upper left corner of the tag and the lower right corner of the photo mat. Usually I would put them on top; however, I think because the texture and color of the fabric made them look heavier than the red paper, they looked better underneath. The sign " A Boy is a Joy" was by EK Success. I punched out the spots for the brads, added red brads from Oriental Trading Company and some twine from my stash. I also cut a football out of the background paper and used it to fill in the "o" in "boy". I used a football-shaped sticker from 7Gypsies to cover up the "o" in joy; the sticker says "amazing".


Monday, June 25, 2012
Day 176: School Days Scrapbook Page
I had a lot of fun incorporating texture into this page for my son. The aged leather-look background paper is from Paper Adventures. I layered the "sweet, smart, boy" tags by Wild Asparagus on top of a brown fabric tag and a striped fabric tag (that almost perfectly matches my son's shirt!) by Making Memories. I even re-purposed another fabric tag in the set to make the blue photo corners! The blue buttons on the photo corners are from Stampin' Up! The twill I used to make the ribbon for the tag and to wrap around the letter "d" was in my stash. I used the back side of a patterned library pocket and library card from Marcella by K to journal some information about my son in first grade. I made a ribbon to go on top of the library card, added an epoxy "school days" sticker (Brenda Walton for K and Co.) and accented it with two blue square brads (Colorbok). I used Ranger distress ink to age the library card and envelope so it would coordinate with the background paper. I used the "Remember" tag and "2010" stickers from "This and That" by Lori Whittock. The letter "d" is by l'il davis designs, and the other brown letter stickers are by American Crafts.


Monday, May 21, 2012
Day 142: How to Scrap A School Photo Using Pink!
I dug through my stash of goodies to find embellishments for this school photo of my daughter. It is hard to find "school" embellishments that are pastel colors. In order to be used for boys and girls, manufacturers of scrapbook products tend to produce items in primary colors.The background paper is one I had originally bought to use for my daughter's dance album, and then she decided not to dance anymore. The mulberry paper was from a friend who moved away. I used a library pocket by Marcella by K to journal her school information. I used the initial "h" by Making Memories to embellish the library pocket. I wrapped a little scrapper's floss by Karen Foster around one of the legs to add some texture and color to the "h". Heart stickers and a pink flower from Heidi Grace further embellish the envelope. A quote from Making Memories is added to the top of the library card. The quote reads "When I look at you I see the magnificence of another generation in your eyes." A chipboard flower from my stash made a good base for some felt flowers from Stampin' Up! and a flower brad. Another smaller flower and brad enhance the library envelope. Floral tabs by Heidi Grace pull in the pink, yellow, and orange colors from my daughter's sweater. I used some mailbox numbers from Making Memories to show the year. I think it looks pretty good for a pink school picture page!


Friday, March 23, 2012
Day 83: Grandmother and Grandson, Continued
Today I dug through my stash of embellishments and found the perfect additions to my page. I found a blue and yellow title "Memories" (source unknown), which works with the blues and yellows of my papers. I used my white craft ink pad (Stampin' Up!) to lighten the blue a little bit. I found a title frame edged in green (3 Birds) that has a blue background with white dots, which echoes the green and blue dot pattern in the paper I chose for my photo mat (Stampin' Up!). I also found two "love" embellishments to put in the corners of the photo (round gold love, unknown; rectangular love: Making Memories).


Subscribe to:
Posts (Atom)