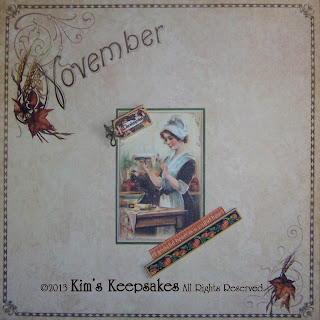
These are the pages we made for the Graphic 45 Place in Time calendar class at The Paper Forest Scrapbook Boutique in Washington, Illinois.
For the December title page, cut out the picture of Santa with the children. Center it on the "December" page. Cut a small portion of the "Happy Holidays" border and adhere across upper left hand corner of the Santa picture, as shown. Using the felt snowflake included in your kit, apply some adhesive to the back of the snowflake and adhere it to the lower right corner of the Santa picture. I did a little fussy cutting around the "A happy Christmas to you" chipboard because it was not centered correctly on my chipboard. I inked the edges to conceal the cut side. I used double-sided tape to adhere it to the felt snowflake.
For the December calendar page, cut out the December title and mat it on the green strip of paper in your kit. Adhere it to the center of the blank calendar page. Adhere a green doily from your kit over each swirl that is printed on the calendar page. Add the Christmas tree epoxy embellishment in the center of each doily.
Cut out the tree border and adhere it approximately .25 inch away from the top of your green card stock. Adhere the photo mats as shown. Cut out the December "list" and adhere it about 1 inch away from the right side of the green card stock. This is so you have enough room for the snowflake embellishment in the bottom right corner of the list. Adhere the red snowflake from your kit. Cut out the Santa stamp with your stamp scissors and use a pop dot to raise it up for some dimension. Cut out the "Be Merry" and "A Merry Christmas" tags. Adhere "Be Merry" first, then adhere "A Merry Christmas" at an angle on the right side of "Be Merry". Place a red snowflake from your kit so that it covers a little bit of the left of each tag. Adhere the "December 25" chipboard tag with double-sided tape.
From your sticker sheet, take the "Merry Christmas" (English only) border and adhere it across the top of your green card stock, about .25 inch away from the top of the page. Cut out the "Merry Christmas" (many languages) border and adhere it about .25 inch away from the bottom of the page. Adhere mats as shown. Cut out the "From Santa" and "Swirl" tags, punch out the holes with a hole punch, and tie a simple bow from the sheer ribbon in your kit. There is enough ribbon for you to also tie a bow on the "Santa in his sleigh" chipboard. From your sticker kit, adhere the "Dec. 25" sticker in the sky on the "Santa in his sleigh" chipboard. Use double sided tape to adhere it under the left photo. (I chose to place the chipboard piece at the bottom of the page because the dark colors and thicker material of the chipboard would be too "heavy" if placed above the mat.) Adhere the two gift tags about the photo mat on the right side of the page.


