

Tuesday, August 7, 2012
Day 219: Personalized Scrapbook Cover
Tonight I made a "name plate" for one of my son's scrapbook albums. The album is orange, his favorite color, and I had some chipboard letters by 3 Birds that I wanted to use. However, I had to align them in a slight stair-step fashion to make them all fit in the space. Therefore, I simply put them on a piece of green card stock by Stampin' Up! and slid the whole thing into the photo window of his scrapbook album. And now he has a personalized scrapbook album.


Monday, August 6, 2012
Day 218: Monogrammed Scrapbook Album Cover
A lot of the scrapbook albums now have a window on the album cover for a photo. I don't usually put photos in them. I usually use some stickers to spell out the kids' names, or if it is a smaller window, just their initial. Then I know it is their album.
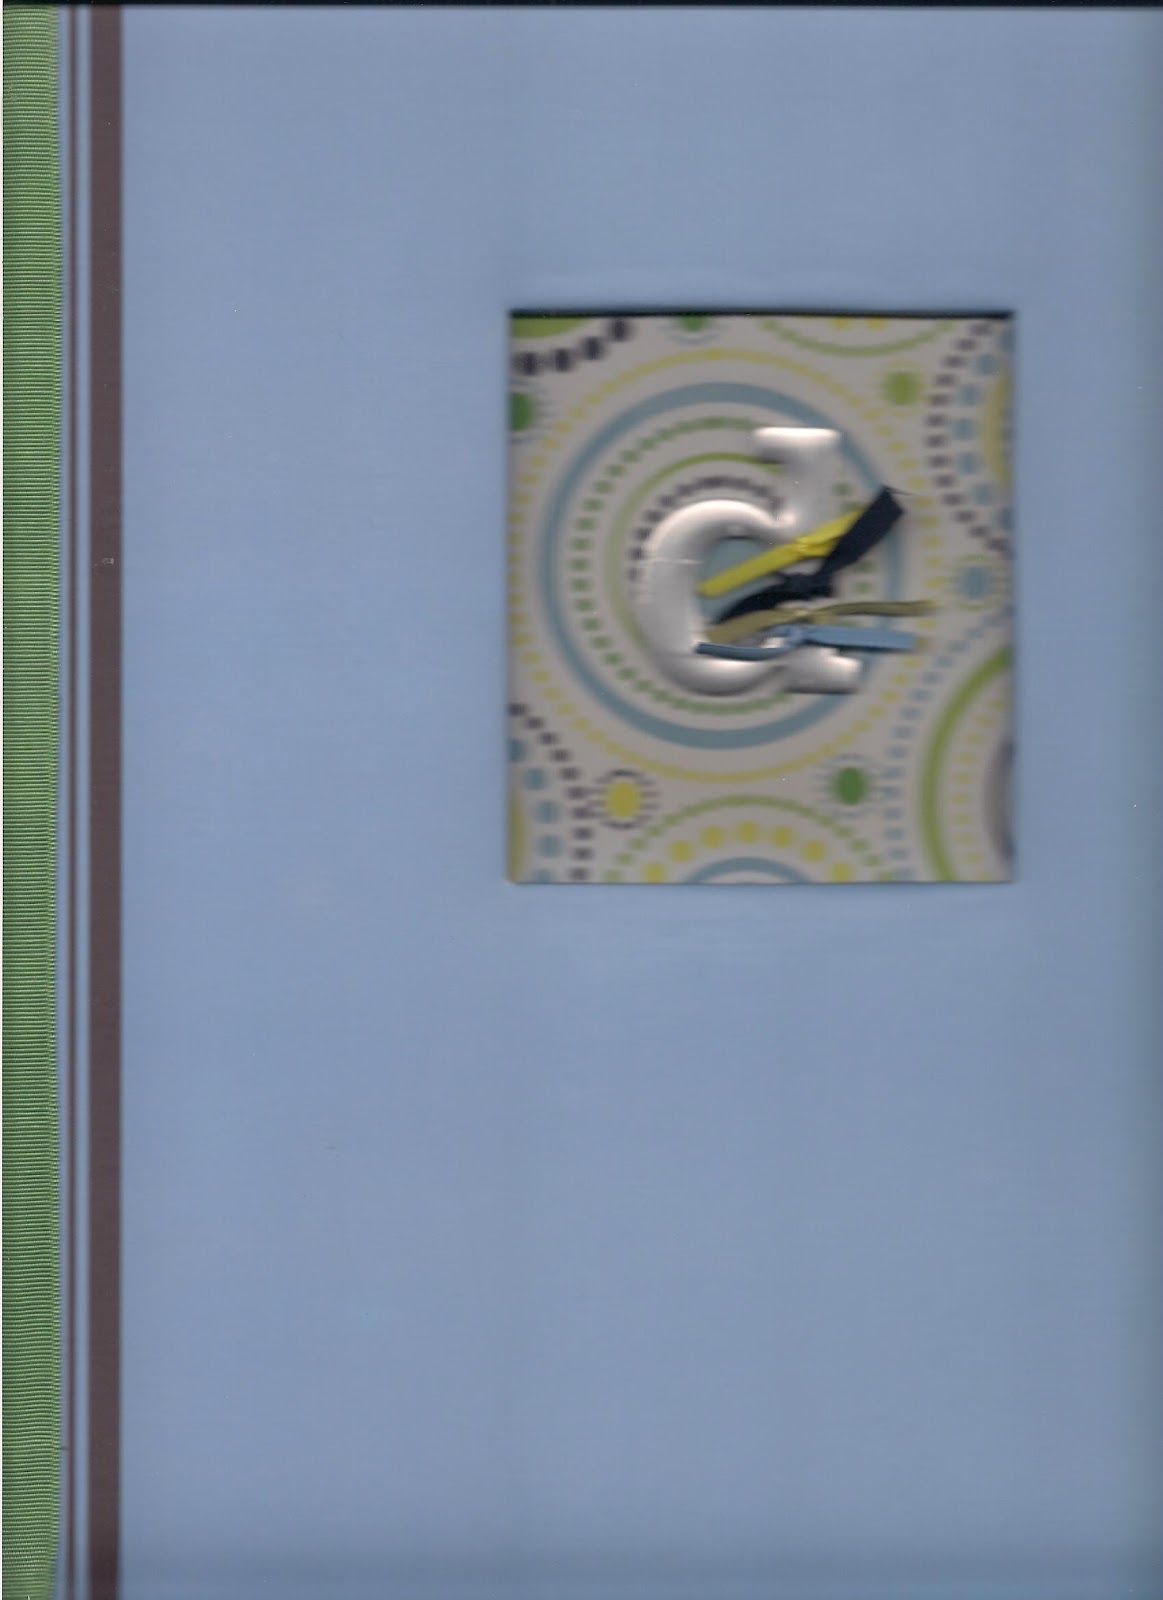
Tonight I worked on one for one of my son's albums. I had a neat paper with circles (by Imagination Project) in just the shade of cornflower blue that matched his album that I used as a background. Since the paper clashed with the stripes on the album cover, I used some double-stick tape to cover the stripes with a green ribbon. I tied ribbons around a metal "d" by Making Memories, and placed it on top of the circle-patterned paper. Voila, a monogrammed scrapbook album cover.

Tonight I worked on one for one of my son's albums. I had a neat paper with circles (by Imagination Project) in just the shade of cornflower blue that matched his album that I used as a background. Since the paper clashed with the stripes on the album cover, I used some double-stick tape to cover the stripes with a green ribbon. I tied ribbons around a metal "d" by Making Memories, and placed it on top of the circle-patterned paper. Voila, a monogrammed scrapbook album cover.
Sunday, August 5, 2012
Day 217: Happy Birthday with Yoda: A Happy Birthday You Must Have
My son wanted to have his photo taken with his Yoda toy for his birthday. I wanted to use Star Wars paper, but all I had was red or blue, and I really needed green because my son was wearing a green shirt, and Yoda is green. So, I just used some Simply Asparagus paper by My Mind's Eye as the background.
The quote I chose for this page is written the way Yoda speaks: "8 you are...A Happy Birthday You Must Have". I used a variety of letter fonts to make this quote, although I did try to stick to the same font for each word so it would be a little more uniform in style. This was inspired by Trudy Sigurdson's book, Embellished Emotions for Scrapbookers: Adding Your Personal Touch to Poems, Quotes, and Sayings.
I used my Copic Green Garden marker to color the number "8" (Paperbilities), the "Happy Birthday" plaque (Making Memories), and the chipboard letters in "Have" (unknown). The green "you" stickers are by Heidi Grace. All other letters and numbers were in my stash, manufacturers unknown. I added the Yoda sticker at the bottom of the quote, just like you might see a famous person's name after a quote. I punched a hexagon shape from green paper with my Creative Memories punch and used it to back the hexagon-shaped Star Wars sticker and placed that above the photo. I made a banner from chipboard pennant pieces by Jenni Bowlin. I colored the pennant shapes with my Copic marker and attached them to some sparkly green ribbon in my stash. I added three number 8s from my stash onto the pennants, and hung the banner in the upper left corner of the photo. Star Wars and Yoda stickers by Creative Imaginations. Journaling pen by Creative Memories.

The quote I chose for this page is written the way Yoda speaks: "8 you are...A Happy Birthday You Must Have". I used a variety of letter fonts to make this quote, although I did try to stick to the same font for each word so it would be a little more uniform in style. This was inspired by Trudy Sigurdson's book, Embellished Emotions for Scrapbookers: Adding Your Personal Touch to Poems, Quotes, and Sayings.
I used my Copic Green Garden marker to color the number "8" (Paperbilities), the "Happy Birthday" plaque (Making Memories), and the chipboard letters in "Have" (unknown). The green "you" stickers are by Heidi Grace. All other letters and numbers were in my stash, manufacturers unknown. I added the Yoda sticker at the bottom of the quote, just like you might see a famous person's name after a quote. I punched a hexagon shape from green paper with my Creative Memories punch and used it to back the hexagon-shaped Star Wars sticker and placed that above the photo. I made a banner from chipboard pennant pieces by Jenni Bowlin. I colored the pennant shapes with my Copic marker and attached them to some sparkly green ribbon in my stash. I added three number 8s from my stash onto the pennants, and hung the banner in the upper left corner of the photo. Star Wars and Yoda stickers by Creative Imaginations. Journaling pen by Creative Memories.

Saturday, August 4, 2012
Day 216: Happy Birthday: Polka Dots
We had this collage made of my son when his photos were taken at Sears Portrait Studios. I love how the photographer created the saying with the different colored circles. I decided to use two different color polka dot backgrounds from Stampin' Up! to play off the circles. (The brown polka dot frame is part of the collage!) I also used some cute dot ribbon from DCWV across the bottom of the page. I punched circles to back three birthday plaques from Making Memories and put those on top of the ribbon. I also punched out some photo corners from the SU dot paper. Punches are Paper Shapers by EK Success.


Friday, August 3, 2012
Day 215: Second Grade
I really liked the idea of the leaf background for my son's photo. It just seemed like fall and school photo should go together. Then I bought an embellishment kit from 3 Birds on HSN, and what should be included, but a cute school house and trees with turning leaves! I added this cute "2nd Grade" laser cut title from Laserline to add to the school feel. I purposely chose fairly quiet background papers from Stampin' Up! so that most of the focus would be on the photo of my son and the cute embellishments.


Thursday, August 2, 2012
Day 214: Tag Football
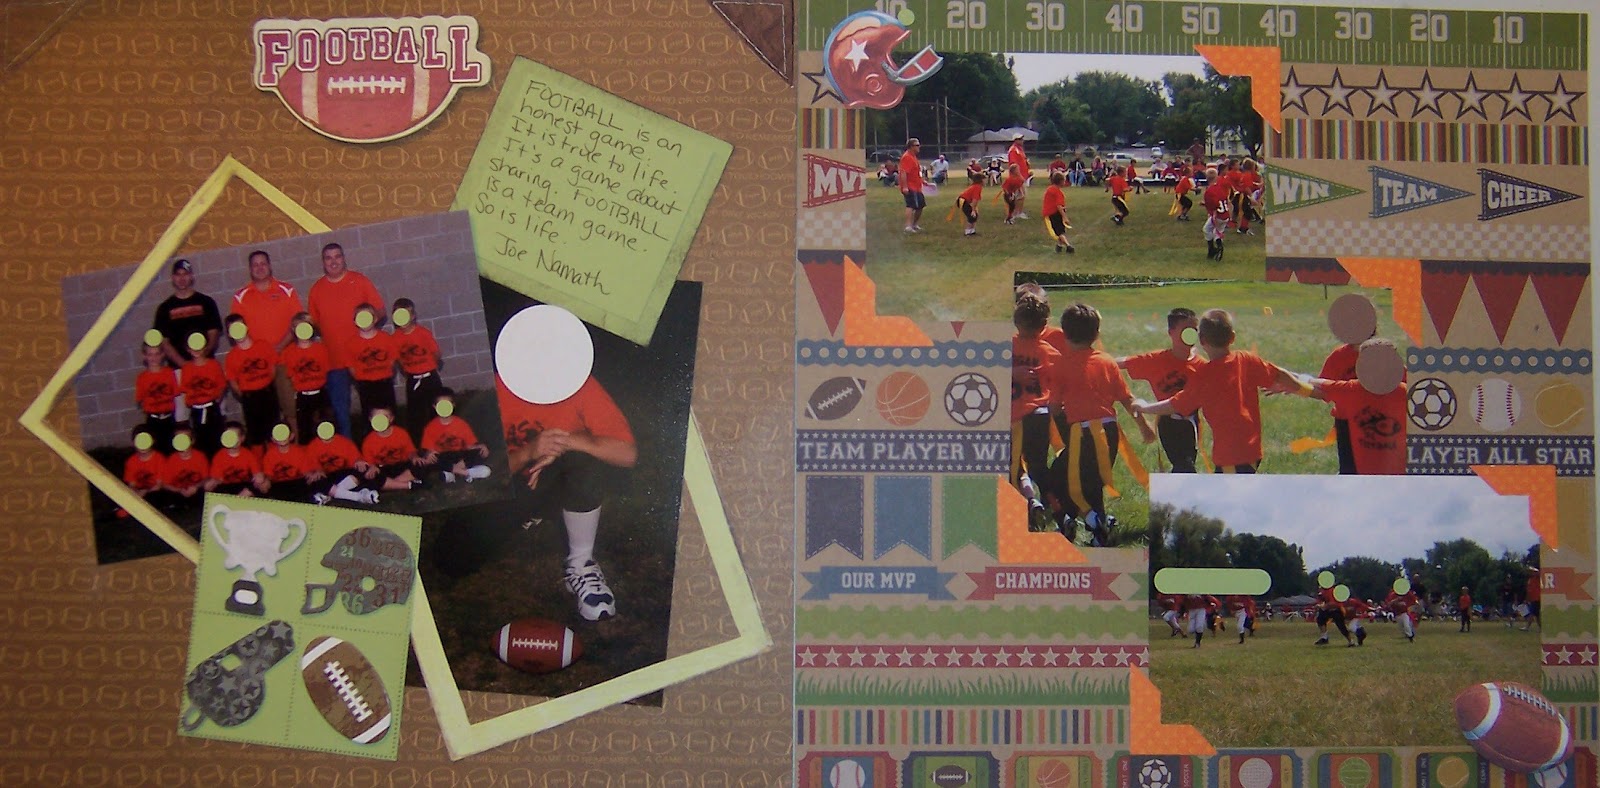
For this football layout, I used paper from Bella Blvd as the background on the left page. I framed my son's team photo and individual photo with a frame from Wild Asparagus. I used a similar color green card stock from Stampin' Up! as background for the Joe Namath quote and the grid with the chipboard football icons. The grid stamp was actually part of a 6-frame postage stamp by Just for Fun. Ink was StazOn by Tsukineko.The chipboard title and football icons are by Little Yellow Bicycle. The "leather" corner triangles have been in my stash for ages. They are from Fresh Cuts by Rebecca Sower.
The right page features paper from Jillibean Soup. I simply added some orange photo corners (paper by Bo Bunny) to bring out the orange shirts of the players and to give a little pop from the busy background. I had some sports stickers in my stash, and added the football and helmet to give the page a little more dimension.
While these two pages aren't matchy-matchy, I think the green on the left page ties in with all the grass in the photos on the right page. I also needed something to brighten those dark photos, since they were taken in the early evening and the light was not optimal. I think the orange shirts were tied in on both pages with the use of the orange photo corners.

The right page features paper from Jillibean Soup. I simply added some orange photo corners (paper by Bo Bunny) to bring out the orange shirts of the players and to give a little pop from the busy background. I had some sports stickers in my stash, and added the football and helmet to give the page a little more dimension.
While these two pages aren't matchy-matchy, I think the green on the left page ties in with all the grass in the photos on the right page. I also needed something to brighten those dark photos, since they were taken in the early evening and the light was not optimal. I think the orange shirts were tied in on both pages with the use of the orange photo corners.
Wednesday, August 1, 2012
Day 213: Baseball Layout
For this baseball layout for my son, I selected the baseball stitching paper by Echo Park Paper and a baseball collage by Little Yellow Bicycle as my backgrounds. For the left page, I added the ball glove by Reminisce on top of the stitch paper, added a chipboard "baseball" title from Little Yellow Bicycle to the top of the glove, added the team photo, and then added 4 baseball tokens from Doodlebug Designs to each corner of the photo. For the right page, I selected 3 photos from one of his games, added 2 of his baseball cards (one front and one back), and embellished the page with a chipboard baseball and bat from Little Yellow Bicycle.

Subscribe to:
Posts (Atom)